Grimoire
Grimoire Overview
Start here for Grimoire's local generation, hosted APIs, and utility workflows.
Grimoire Overview
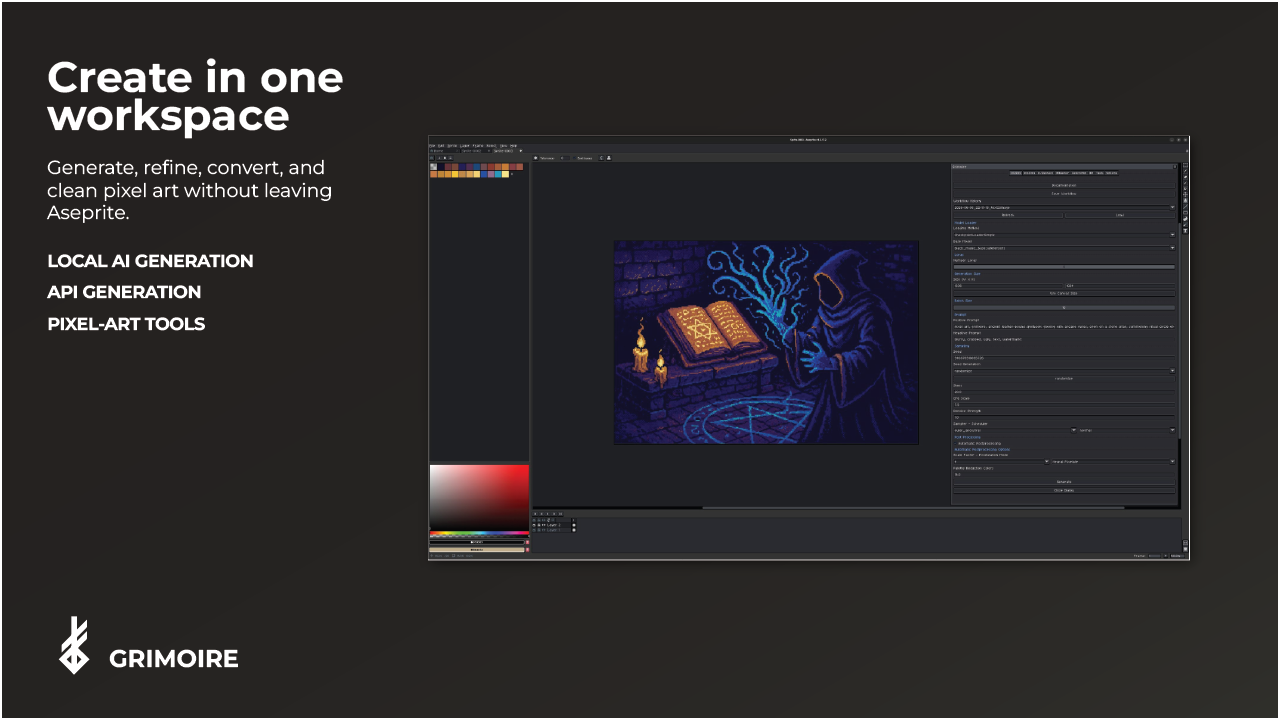
Grimoire is Black Magik’s local-first Aseprite extension for AI pixel art, reference-guided generation, and retro game asset cleanup. It connects your local ComfyUI workflows directly to the Aseprite canvas, then returns results as new layers, frames, or output sprites so you can generate, refine, convert, and export without leaving your editor.
The core workflow is built around ownership: use your installed checkpoints, LoRAs, IPAdapter assets, ControlNet models, custom nodes, and local project files. Hosted API providers are available when you want them, but they are secondary options rather than the center of the product. The Tools tab handles palette reduction, neural pixelization, configurable Wang and Blob tilesets, resizing, reference extraction, custom workflow runs, and other practical cleanup steps after generation.
Main Areas
| Area | Purpose |
|---|---|
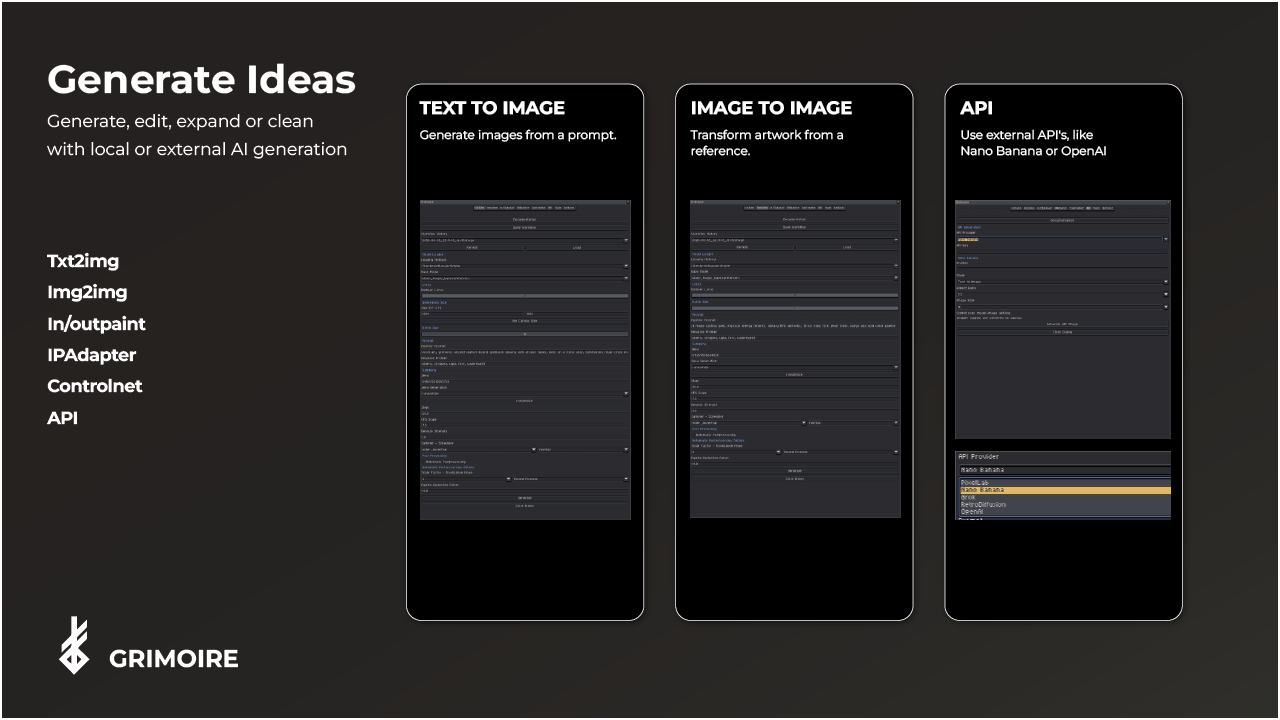
| Text to Image | Generate from scratch using a prompt and a local checkpoint. |
| Img2Img | Transform the active canvas while preserving some structure. |
| In/Outpaint | Regenerate a selected area or extend beyond the current canvas. |
| IPAdapter | Guide generation with one or more reference images. |
| ControlNet | Constrain pose, depth, edges, or structure with a control image. |
| API | Generate through hosted providers such as PixelLab, Nano Banana, Grok, RetroDiffusion, and OpenAI. |
| Tools | Run pixelization, palette reduction, configurable Wang and Blob tilesets, sprite resize, custom ComfyUI workflow JSONs, background removal, and ControlNet reference generation. |
| Settings | Manage servers, ports, model imports, generation history, workflow history controls, workflow queue visibility, seed visibility, and saved UI state. |
First Session Checklist
- Run the installation wizard. It sets up UV, Python 3.13, ComfyUI, PyTorch, required custom nodes, bundled models, and the middleman server.
- Open Edit > Black Magic > Generate Image. If no sprite is open, Grimoire creates a new 1024x1024 file automatically.
- Make sure the runtime services are ready. On macOS and Linux they usually auto-start after setup; on any OS you can use Settings > Start Servers or the Edit > Black Magic > Servers submenu.
- If you want local generation, import at least one checkpoint in Settings > Import Model.
- Choose the workflow that matches the job:
- Local prompt/model work: Text to Image, Img2Img, In/Outpaint, IPAdapter, ControlNet
- Hosted generation: API
- Cleanup and conversion: Tools
- Generate once, use Save Workflow to keep useful setups, and use Settings > Workflow History when you want to reload saved or automatically recorded runs.
What Persists
- Grimoire remembers the last-used settings for each major tab.
- Successful local generations are auto-saved to workflow history and pruned by your history limit. Manual saved workflows are kept separately.
- The dialog position and size are remembered between sessions.
- The Workflow Queue visibility preference is remembered; closing the queue window hides it until you turn it back on in Settings.
- The seed number is hidden by default to reduce Aseprite scrollbar jumps. Enable Settings > Sampling > Show Seed Number when you need to inspect or edit exact seeds.
Use Settings > Clear Saved Tab Settings if the UI state becomes stale, and Settings > Reset Generation Bounds if the dialog opens in an awkward size or position.
Good Habits
- Leave the servers running for the session unless you need to free resources or reload nodes.
- Save local workflows once you find a model, prompt, and sampler combination that works.
- Use the API tab when you want hosted generation, but remember Grimoire still needs its local runtime services and an Aseprite canvas to receive the result.
- Use Tools > Pixelization or Tools > Palette Reduction after generation when you need cleaner palette control or a more retro finish.
- Use the Tools tab for structure-first tasks like ControlNet reference extraction or workflow JSON experimentation.
System Requirements
| Platform | Requirements |
|---|---|
| Windows 10 / 11 (64-bit) | Tested and supported. Requires a 64-bit Intel or AMD processor, 8 GB RAM minimum, 16 GB RAM recommended, and 25 GB free disk space after installation. NVIDIA CUDA and Intel XPU are detected automatically; compatible AMD ROCm hardware follows the PyTorch automatic backend where available. A GPU with 6 GB VRAM minimum is recommended, with 8 GB+ for SDXL models. |
| macOS | Experimental. Apple Silicon M1 or later uses PyTorch MPS/Metal acceleration automatically. Intel Macs use the CPU-compatible fallback. Requires 8 GB RAM minimum, 16 GB RAM recommended, and 25 GB free disk space after installation. |
| Linux | Experimental. Requires a 64-bit Intel or AMD processor, 8 GB RAM minimum, 16 GB RAM recommended, and 25 GB free disk space after installation. NVIDIA CUDA, AMD ROCm, and Intel XPU are selected through the PyTorch automatic backend. A GPU with 6 GB VRAM minimum is recommended, with 8 GB+ for SDXL models. |
Additional disk space is needed for extra models. SDXL checkpoints are typically 6-7 GB each.