Grimoire
Installation
Run the setup wizard, configure ports, and bring up the local runtime.
Black Magik Installation Guide
The first time you launch Aseprite with Grimoire enabled, Black Magik runs a setup wizard. It checks for active setup ports, detects leftovers from earlier installs, opens the install docs in your browser, and then drives the full runtime setup from inside Aseprite.
What The Wizard Installs
| Step | What it sets up |
|---|---|
| UV + Python 3.13 | Installs UV if needed and provisions Python through it. |
| ComfyUI | Clones ComfyUI into the extension folder. |
| ComfyUI Manager | Installs the manager used for custom node maintenance. |
| Custom Nodes | Installs IPAdapter Plus, ComfyUI Essentials, OpenPose, DepthAnything V3, Inspyrenet Rembg, and PixelArt Detector. |
| Bundled Models | Downloads the IPAdapter SDXL and ControlNet model assets used by the built-in workflows. |
| Middleman Server | Sets up the Python service that bridges Aseprite, hosted APIs, and ComfyUI. |
| Preferences | Prompts for ports and generation-history limit after the files are ready. |
PyTorch installation is platform-aware:
| Platform | Installer behavior |
|---|---|
| Apple Silicon | Installs the current MPS-capable PyTorch nightly recommended for ComfyUI. |
| Windows / Linux | Uses UV automatic backend selection for NVIDIA CUDA, AMD ROCm, Intel XPU, and CPU fallback. |
| Intel Mac | Installs a CPU-compatible build; Apple Metal acceleration is supported on Apple Silicon. |
At server start, Grimoire probes CUDA/ROCm, Intel XPU, and Apple MPS. ComfyUI is forced into CPU mode only when PyTorch successfully confirms that none of those accelerators is available. A failed probe is logged as unknown and left to ComfyUI automatic device detection.
What The Wizard Asks You
Previous installation cleanup
If Black Magik finds lingering black-magic files, it offers:
- Keep Existing (Faster): reuse the old install where possible
- Delete Existing (Cleaner): remove old files before reinstalling
- Cancel Installation: stop before any setup work starts
Preferred ports, history, and sampling
Near the end of setup, Grimoire asks for:
- ComfyUI Port: default
8288 - Middleman Port: default
8388 - Generation History Save Limit: default
20 - Show Workflow Queue: enabled by default
- Show Seed Number: disabled by default; warning that it may cause the UI scrollbar to jump
Recommended screen scaling
The installer also recommends Aseprite Screen Scaling = 200% because Grimoire’s dialog is more comfortable at that size. It can open Preferences for you, but you can keep your current setting if you prefer.
Platform Behavior
| Platform | What to expect |
|---|---|
| Windows | The installer runs in the background to avoid repeated console flashes. |
| macOS / Linux | The installer opens a visible terminal alongside the in-Aseprite progress dialog. |
| macOS / Linux after setup | Black Magik auto-starts its runtime services when Aseprite launches. |
| Windows after setup | Use the menu or Settings tab to start the services when needed. |
What You Still Need To Provide
Git
The installer checks for git and opens the download page if it is missing.
- Windows: https://git-scm.com/downloads/win
- macOS: https://git-scm.com/downloads/mac
- Linux: https://git-scm.com/downloads/linux
Aseprite
Install Aseprite first: https://www.aseprite.org/
GPU drivers
If you want local GPU acceleration, install the correct drivers before or after setup:
- NVIDIA CUDA: https://developer.nvidia.com/cuda-downloads
- AMD ROCm: https://pytorch.org/get-started/locally/
- Intel XPU: https://pytorch.org/docs/stable/notes/get_start_xpu.html
- Apple Silicon: MPS is included in the macOS PyTorch build and selected automatically by ComfyUI
If the correct accelerator backend is unavailable during setup, PyTorch falls back to CPU. If Grimoire was installed before accelerator-aware setup was added, use Edit > Black Magic > Installation > Restart Installation to rebuild the environments with the current backend recipe. Normal startup never downloads or replaces PyTorch automatically.
Logs And Failure Recovery
If installation fails, Black Magik keeps a session log at:
- Windows:
%APPDATA%\\Aseprite\\extensions\\black-magic\\setup.log - macOS:
~/Library/Application Support/Aseprite/extensions/black-magic/setup.log - Linux:
~/.config/aseprite/extensions/black-magic/setup.log
The failure dialog includes Report Bug, which opens a prefilled issue link with setup context. Start there before manually deleting folders.
You can rerun the full wizard later from:
- Edit > Black Magic > Installation > Restart Installation
That flow rechecks ports, detects old files again, and lets you keep or clean them before reinstalling. The same Installation submenu also includes Uninstall Cleanup, which cleans Black Magik runtime files and opens Aseprite’s extensions folder so you can remove the extension cleanly.
First Steps After Setup
1. Open Grimoire
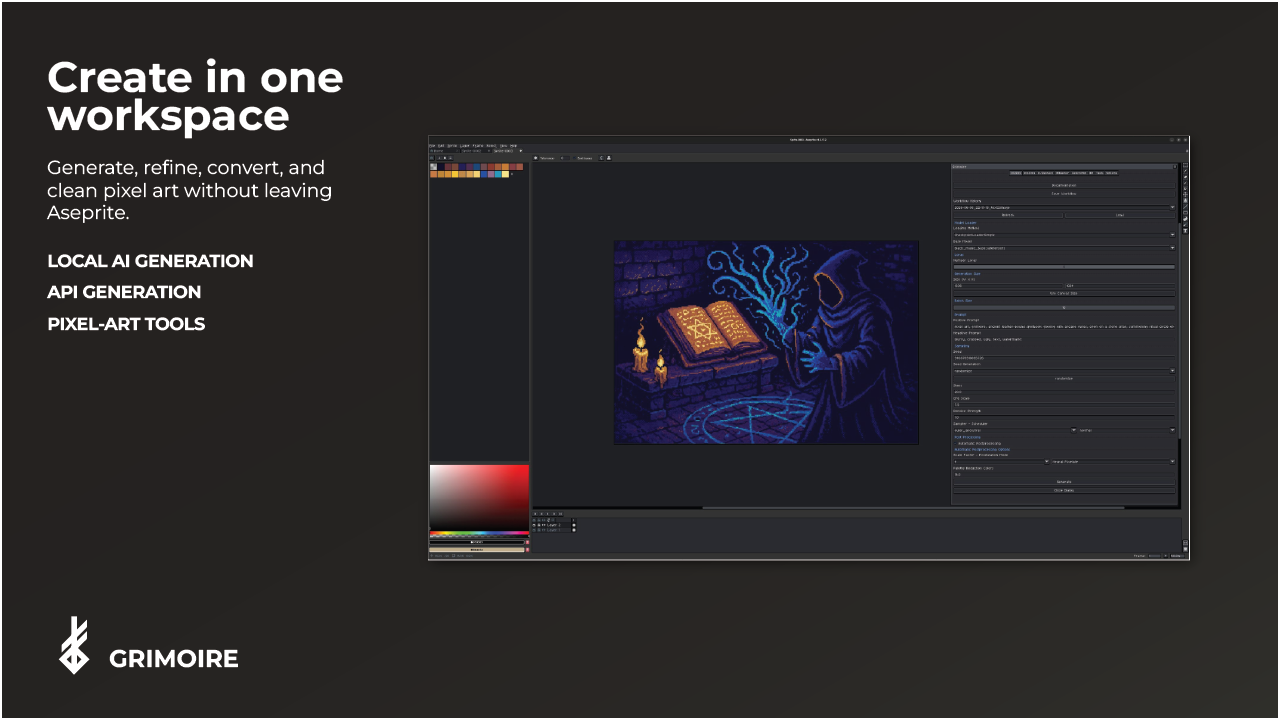
Go to Edit > Black Magic > Generate Image.
2. Start or verify the servers
Open Settings and use Start Servers or Server Status. You can also do this from Edit > Black Magic > Servers. If a configured port is already in use, Grimoire reports that the servers were not started instead of launching a conflicting runtime.
3. Decide between local and hosted generation
- Local tabs need imported models such as checkpoints, LoRAs, IPAdapter assets, and ControlNet models.
- API tab does not need local checkpoints, but it still uses the Black Magik runtime services.
4. Import a checkpoint if you want local generation
In Settings, choose checkpoints, select a .safetensors file, and click Import Model.