Grimoire
Tools
Utility workflows for pixelization, palette reduction, Wang tilesets, resize, workflow JSONs, background removal, and reference generation.
What Is This?
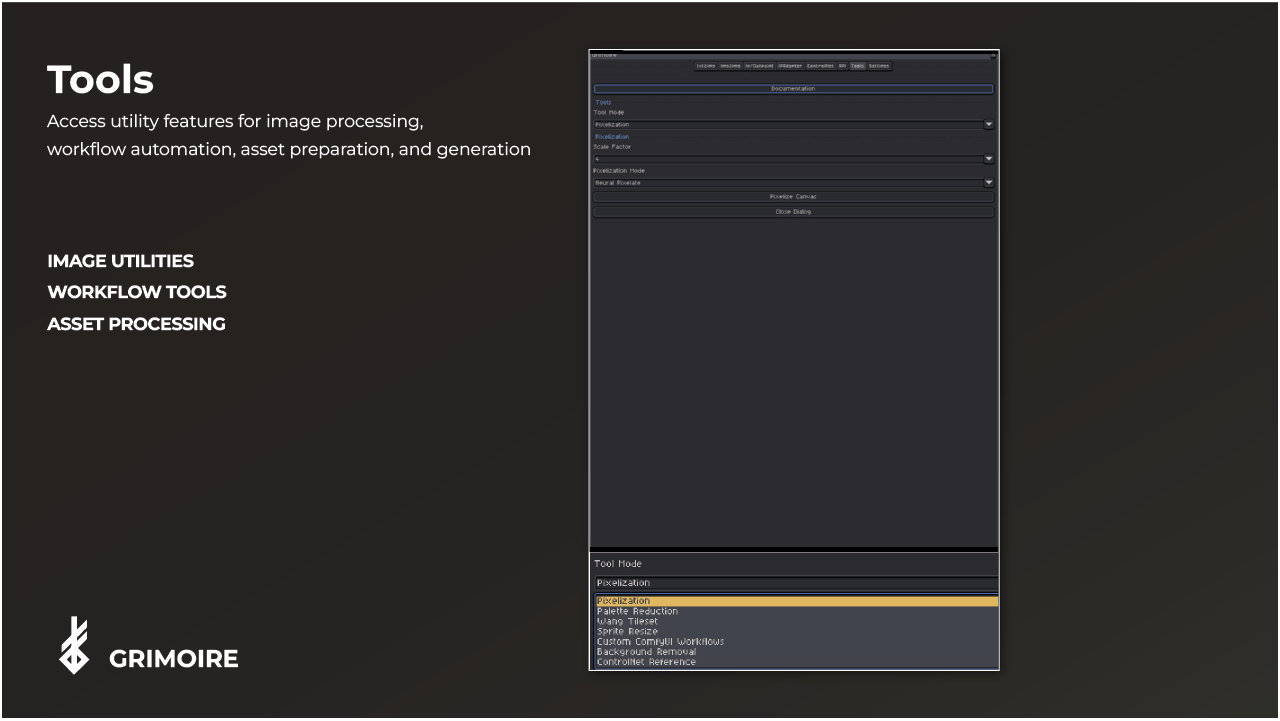
The Tools tab provides utility actions that sit beside the main generation tabs. These are not prompt-first workflows. Choose a Tool Mode to switch between pixelization, palette reduction, configurable tilesets, sprite resize, custom ComfyUI workflows, background removal, and ControlNet reference generation.
Pixelization
Pixelization makes the active sprite chunkier and more retro-looking. It can run as a standalone tool, or you can enable similar processing from the local generation tabs with Automatic Postprocessing.
| Mode | What It Does |
|---|---|
| Standard Pixelate | Uses block averaging across the current canvas. |
| Neural Pixelate | Uses the packaged neural pixelization model for a more model-driven result. |
Use Scale Factor to control how large the pixel blocks become. Standard mode accepts numeric scale values from 1 to 8; Neural mode offers 2 to 8. Click Pixelize Canvas to process the active sprite.
Pixelization runs through the Workflow Queue for progress and cancellation.
Palette Reduction
Palette Reduction merges similar colors in the active sprite down to a target count. Set Max Colors between 1 and 256, then click Reduce Palette.
Use this after generation or pixelization when you want a simpler palette before final cleanup in Aseprite.
Palette Reduction runs through the Workflow Queue for progress and cancellation.
Configurable Tileset Editor
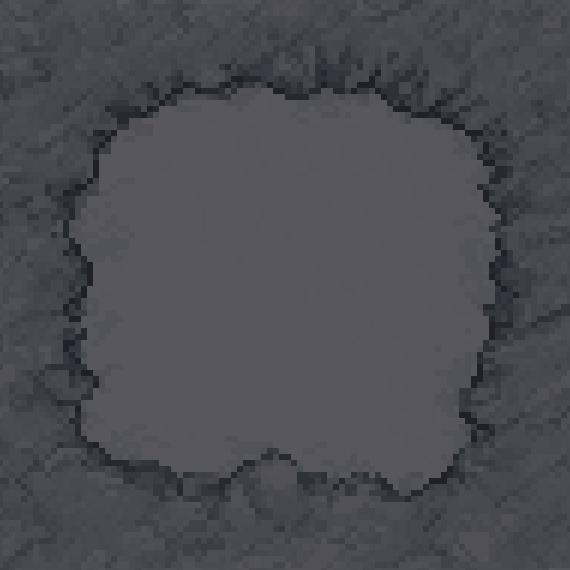
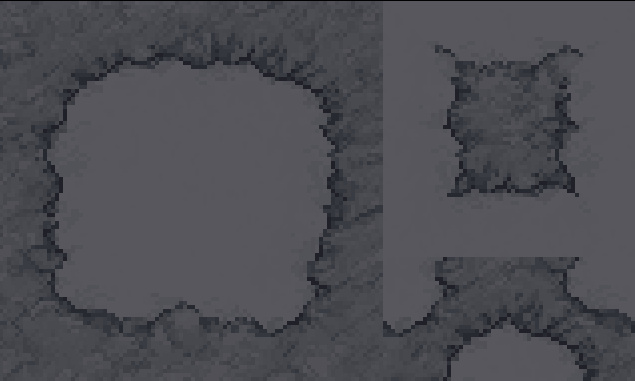
The tileset editor is built directly into the Tools dialog. It assembles Wang or Blob tilesets from an anchor block plus optional edge and outer-corner roles. Source sprites can be any rectangular grid whose width and height are exact multiples of 32 pixels.
How To Use
- Open a sprite or tile sheet made from 32x32 blocks.
- Select Tileset Generation in Tool Mode.
- Select a source block and click the center cell to assign the anchor.
- Optionally assign the four edges and four outer corners. Right-click a surrounding role to clear it.
- Choose Wang or Blob, then adjust Margin, Rotation, Flip X, and Flip Y as needed.
- Review the live processed guide and generated output, then click Generate at the bottom of the editor.
The anchor alone is enough to generate. Unassigned edges are rotated from the anchor, and unassigned corners are composed from neighboring edges. Wang output is 160x96 and Blob output is 352x160.
The preview remains inside Grimoire and does not modify the source document. Generate creates a regular RGBA sprite only when you are ready.
Sprite Resize
Sprite Resize contains Black Magik’s K-centroid resize plus a shortcut to Aseprite’s own Sprite Size dialog. K-centroid resize divides the source into tiles and assigns each output pixel the dominant color centroid from its tile, which is useful for controlled pixel-art resizing.
Controls
| Control | What It Does |
|---|---|
| Width / Height | Target output size. Values are clamped to valid positive dimensions. |
| Lock Ratio | Keeps the original aspect ratio while you change one dimension. |
| Centroids | Number of candidate color clusters per tile. Higher values preserve more local variation. |
| Iterations | How many refinement passes the tile clustering runs for. Higher values are slower but more stable. |
Good defaults
- Start with Centroids = 2
- Start with Iterations = 3
- Use it for downscaling only
K-centroid resize runs through the Workflow Queue for progress and cancellation.
Official Aseprite Resize
This button opens Aseprite’s own Sprite Size dialog for the active sprite. Use it when you want the stock Aseprite resize workflow without leaving Grimoire.
Custom ComfyUI Workflows (Experimental)
This mode lets you run an arbitrary ComfyUI workflow JSON file directly from Aseprite.
What It Accepts
- Raw ComfyUI API-format node dictionaries
- Exported workflow files that wrap the node data under
workfloworprompt
What Black Magik Does For You
- Adds a
SaveImageWebsocketnode if the workflow has a usable image output but no websocket return node - Exports the current Aseprite canvas into
LoadImagenodes when the workflow needs image inputs - Validates the JSON before sending it
Limitations
- It is experimental and not every workflow will be compatible
- Complex multi-output graphs may not return the image you expect
- Workflows that depend on missing models or custom nodes still fail the same way they would in ComfyUI
Open ComfyUI Server
In Custom ComfyUI Workflows, click Open ComfyUI Server to open the local ComfyUI web interface in your default browser. Use it when you want to inspect nodes, debug a workflow visually, or build a JSON workflow to bring back into the experimental runner.
Background Removal
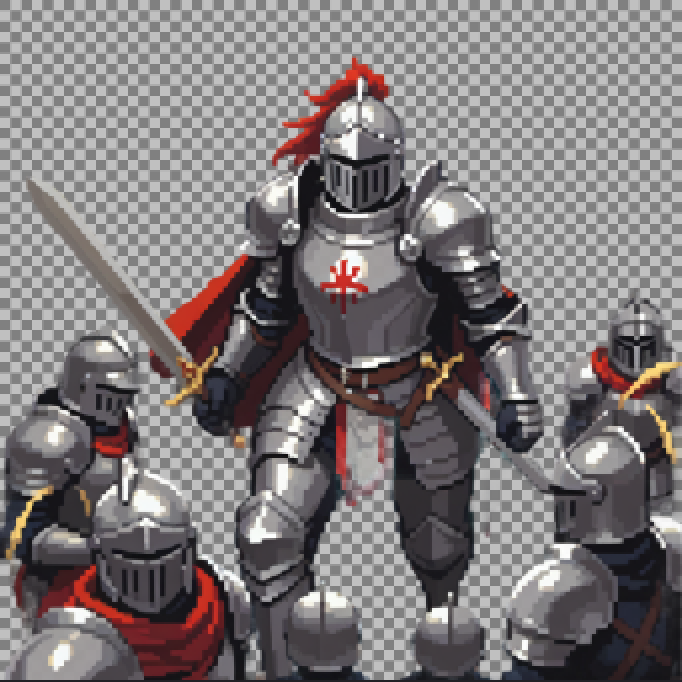
Removes the background from the active sprite using Inspyrenet Rembg and returns the cutout into Aseprite.
Notes
- Works best with clear foreground/background separation
- The generated result is returned as a new visible output layer or sprite
- Requires the installed Inspyrenet Rembg node from the Black Magik setup
ControlNet Reference Generator
Generates a structural reference image from your active sprite that can then be used as a ControlNet control image.
Why Use This?
Before using the ControlNet tab, you often need a preprocessed “map” image (pose, depth, etc.) rather than the raw photo or sprite. This tool creates those maps directly from your Aseprite sprite.
Reference Methods
OpenPose
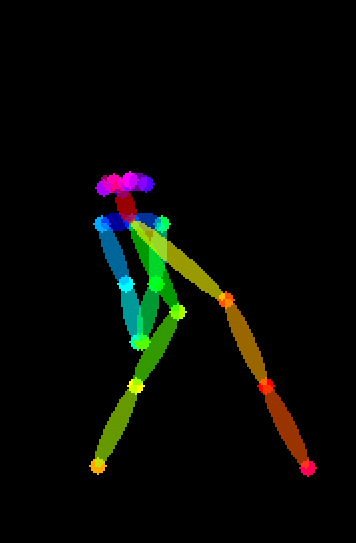
Detects human body landmarks (skeleton joints) in your sprite and generates a stick-figure pose diagram. Use this when you want to control the pose of a character in a generation.
- Input: Your active sprite should contain a clearly recognizable human or humanoid figure.
- Output: A stick-figure skeleton image (COCO format) showing the body keypoints.
- Use in ControlNet with: An OpenPose-trained ControlNet model.
Depth Map
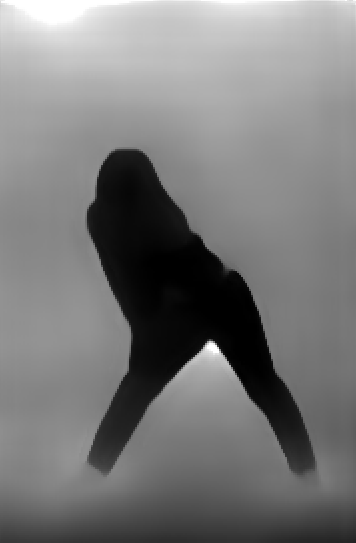
Analyzes your sprite and generates a grayscale depth map where bright areas are close to the viewer and dark areas are far away. Use this when you want to control the spatial layout and depth of a generation.
- Input: Any sprite — works best with scenes that have clear foreground/background separation.
- Output: A grayscale image. White = nearest, black = farthest.
- Uses: Depth Anything V3 model (downloaded automatically if not present).
- Use in ControlNet with: A Depth-trained ControlNet model.
How to Use
- Open the sprite you want to analyze in Aseprite (it must be the active sprite).
- Choose a Reference Method (openpose or depthmap).
- Click Generate ControlNet Reference.
- The result is saved to the ComfyUI output folder and displayed as a new sprite in Aseprite.
- Switch to the ControlNet tab, select the saved image as your control image, and generate.
Reference Examples